Build Your First Blog/Portfolio Part 1
We've gone over the Git basics, downloaded Git, set up our local account, signed up and logged into GitHub and listed out commonly used Git Commands. Now we'll put that new Git knowledge to use by creating our first repository for an HTML layout for a blog/portfolio site and pushing it up to GitHub.
I'm working on Win10 OS, following instructions will be based off this. Most of this should work cross-functionally for Linux/Mac users.
Setting up your work space#
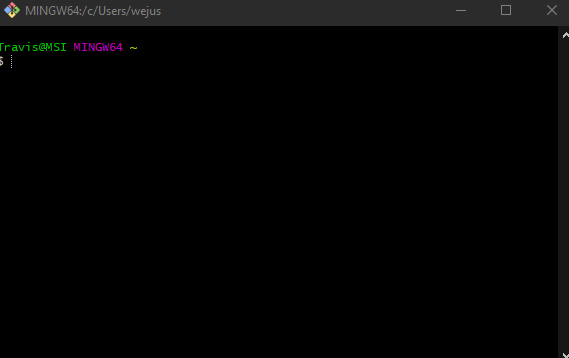
We'll start by opening up Bash:
And navigate to where you want to keep your work. Personally, I keep a "Work" folder on my desktop (though I keep all icons hidden from desktop because I like the aesthetic of a clean view.)
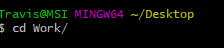
I'll go ahead and make a new directory for this work:

Navigate into that directory and we'll have a new folder with nothing in it!
Create your GitHub repository#
Moving on, we'll open up a new repository to save our work to. There are a number of ways to go about this. For me, I like to start on GitHub:
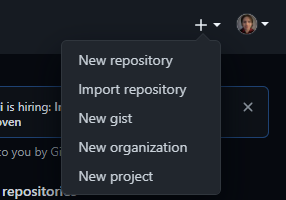
Selecting New Repository will present you with the new repo screen:
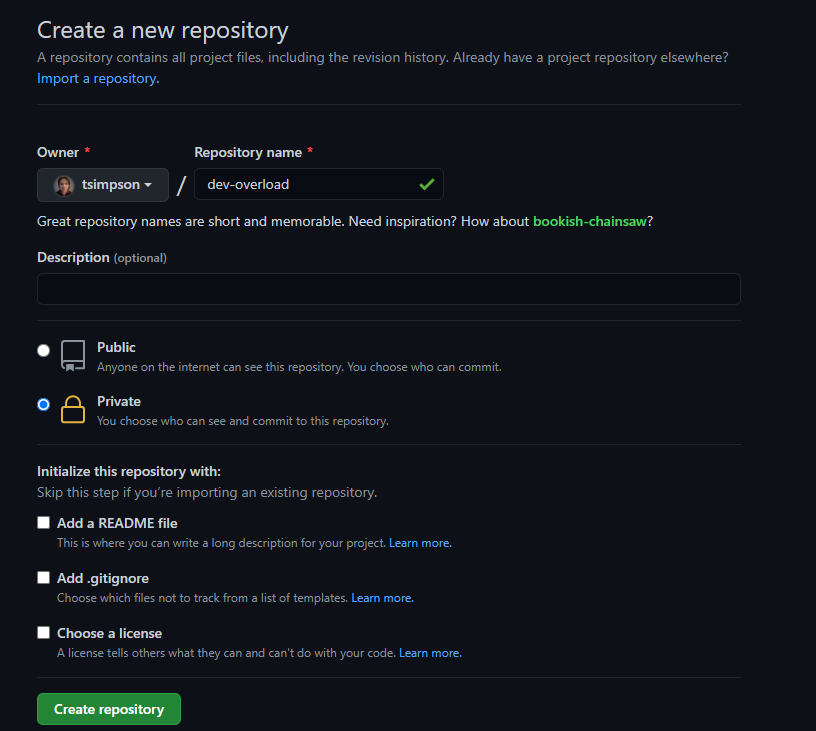
The only part you really need to worry about is giving your repository a name. I've named mine "dev-overload." Public or Private doesn't matter too much in this context. Though it's set to private in the screenshot, I've gone ahead with a public repo for anyone to reference should you need to.
You can initialize with a README file or add a .gitignore if you'd like, but I plan to add these in later on myself. So, after you've selected what you like, go ahead and click "Create repository."
For now, this is how your repo will look:
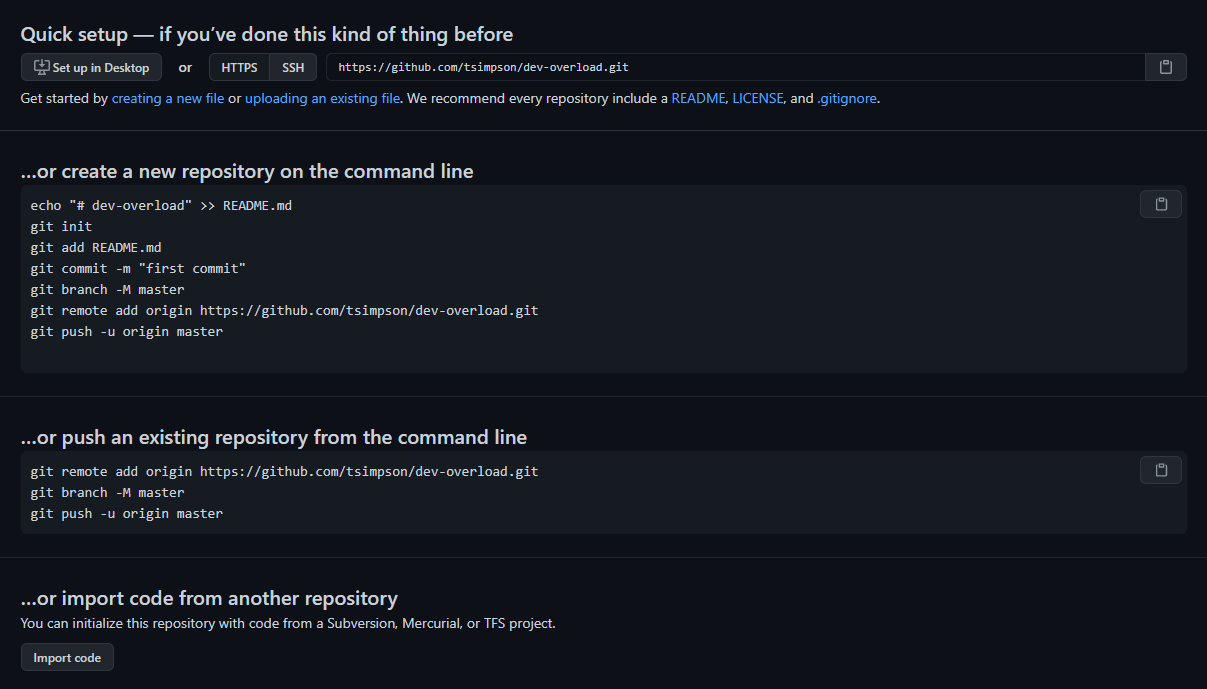
We can simply copy the first option by clicking the clipboard icon and paste it into our Bash terminal. This will initialize the repo for us locally.
Quick rundown of what's going on here:#
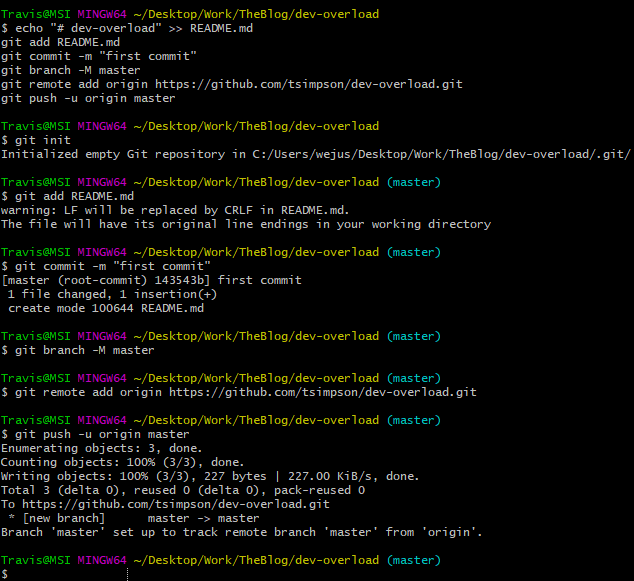
echo "# dev-overload" >> README.mdis creating the README doc with a title of "dev-overload".Next we run
git add README.md(remember our command basics?) to specify adding the README to be committed to our repository.Then we run
git commit -m "first commit"to create our first commit with the README.We create the master (or main) branch with
git branch -M masterand add the remote origin we want to connect to, which is the url of our GitHub repository we created withgit remote add origin your_github_repo_url_here_Finally, now that we are connected to the remote repository we push our newly generated README file up to the repository wih
git push -u orgin master
And if we refresh our page on GitHub it should now look like:
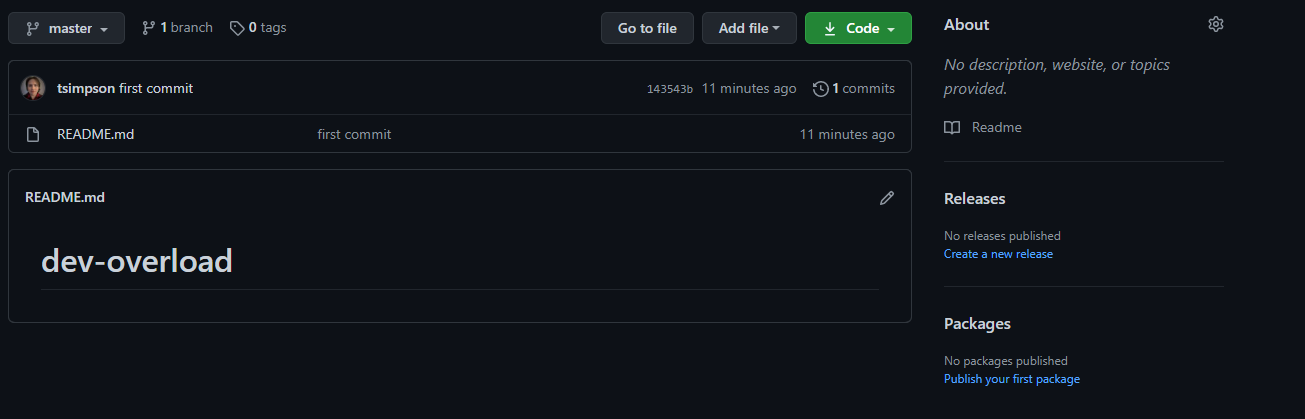
Great! We've got our repo set up and ready. Now what?
Let's make the file we're going to be working in for today.
Create index.html#

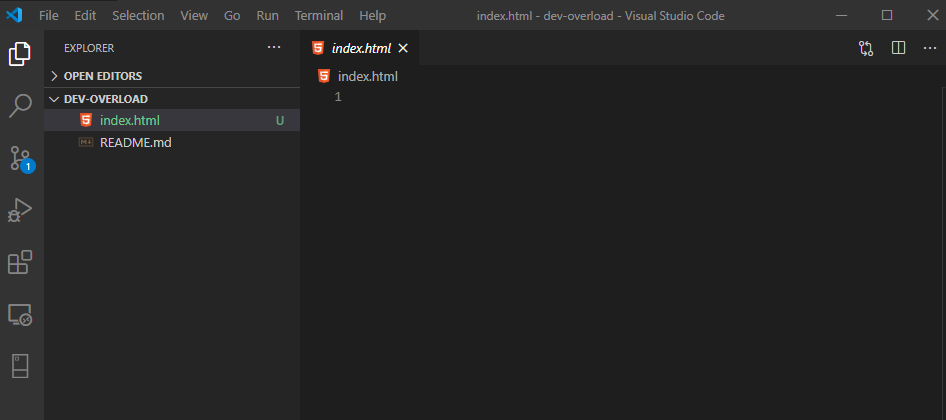
Now if you type ls into your bash console, you should see both the README.md (md for Markdown) and index.html (the html file that will eventually be our web page.)
This is our "working directory" for now. If you type code . (. defaults to "all") it will open the files in VS Code (or whichever text editor you chose previously.)
If not, now's a good time to practice your "Google-fu" to easily find the solution to allow you to open your text editor through Bash or Terminal.
Basic HTML Tags#
Now may be a good time to discuss some basic tags. When we take time to consider how a website is designed and looks, tags start to make sense. They also serve a purpose of keeping our document organized and understandable to our future selves as well as other potential users of our code. We can get really specific with our tags, or we can go very basic with them. I like to find a nice middle-ground.
Right now, we're making a skeleton of what our page will be. So if we look over other blogs or portfolios, we'll notice most of them have some common things:
The web page as a whole, obviously. If we break that down though:
A navigation bar, usually at the top.
Some content in the middle. This can be broken down more to:
- About the author/owner
- Portfolio work
- Blog posts
- Maybe some sign up/email forms, other general content.
The bottom of the page, or footer. The footer may have some extra pieces as well.
Now if we break this down into tags we may have something along the lines of:
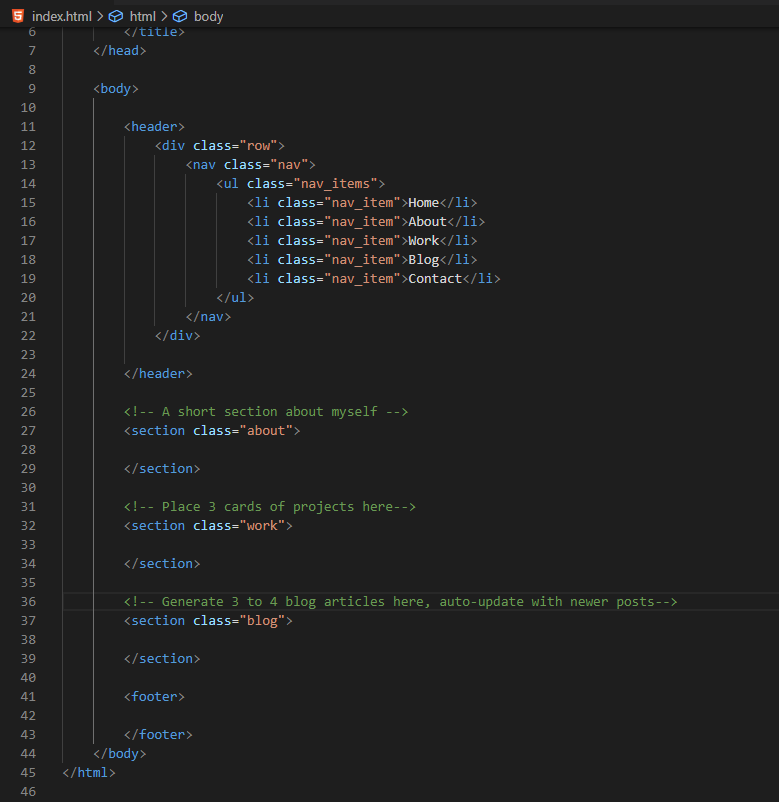
We start by specifying the DOCTYPE as html, because browsers. They need to recognize the file they are reading. Then we open up the <html> tag, where all of our information is going to live.
The <head> tag contains meta information, scripts and style files. For now, we can just put the title of our page.
At the end you'll see the </head> tag, which is a closing tag, a way of signifying the end of that tag.
Following that comes the <body> tag, where all the things we want visible will live. This is where we break down the web page into parts, like the <header> (not to be confused with the <head>), where our navigation bar will live, the <section> tag, one of many, to help us separate where content should go, and the <footer> tag, where the information we want at the bottom of the page will go.
Inside the header you'll notice we've already set up a nav bar. <div> tags are used quite often, for many purposes. This particular section is designating the nav bar area, and will have a "row" design when we move to CSS. Inside the <div> we have the actual <nav> tag to designate our navigation bar. To make a navigation bar we open up <ul> (unordered lists, like the lists you see within this blog post), and create a <li> (list item) for each item we want in our navigation bar. We currently have 5, for Home, About, Work, Blog and Contact. We can change this as we see fit later on.
There are tons of tags for HTML, and I highly suggest building on your Google-fu to learn what all exists out there. Or for quick help, MDN is a top notch resource.
You'll notice some tags have a class attribute added to them. This helps designate what each section is for in HTML, and gives us something for the Style Sheet to point to when we get to work on designing the layout.
I want to keep the front page fairly simple, with as little clutter as possible, but easy-to-find information. To do so, I've created 3 sections: about, work and blog. This way I know that I want to display a little about me, or my site, some of my work, and posts from my blog. We'll go ahead and create comments for our future selves to remember we don't want a lot of information on each section.
Create a comment in HTML like so:
Comments are not visible to end-users (unless they open up developer tools!)
I've added very brief descriptions to remind myself what I plan to do in the near future. The about section will be quite short, enough to get a little insight, but not so much it draws the viewer's attention away from the more important sections. We'll create a separate page with more detail later. The next section is reminding me I want to display 3 cards as projects. Cards are neat and keep the sight organized. 3 projects that are easily viewable and recent will be displayed here. Finally, we will display 3-4 blog articles in a card format, keeping the most recent post first, for easy access to articles.
The footer will eventually contain a site map and links to social media. This will be our skeleton of a page to work with more in the next post!
If we open the page up in Chrome and open the Developer Tools, we should see this!
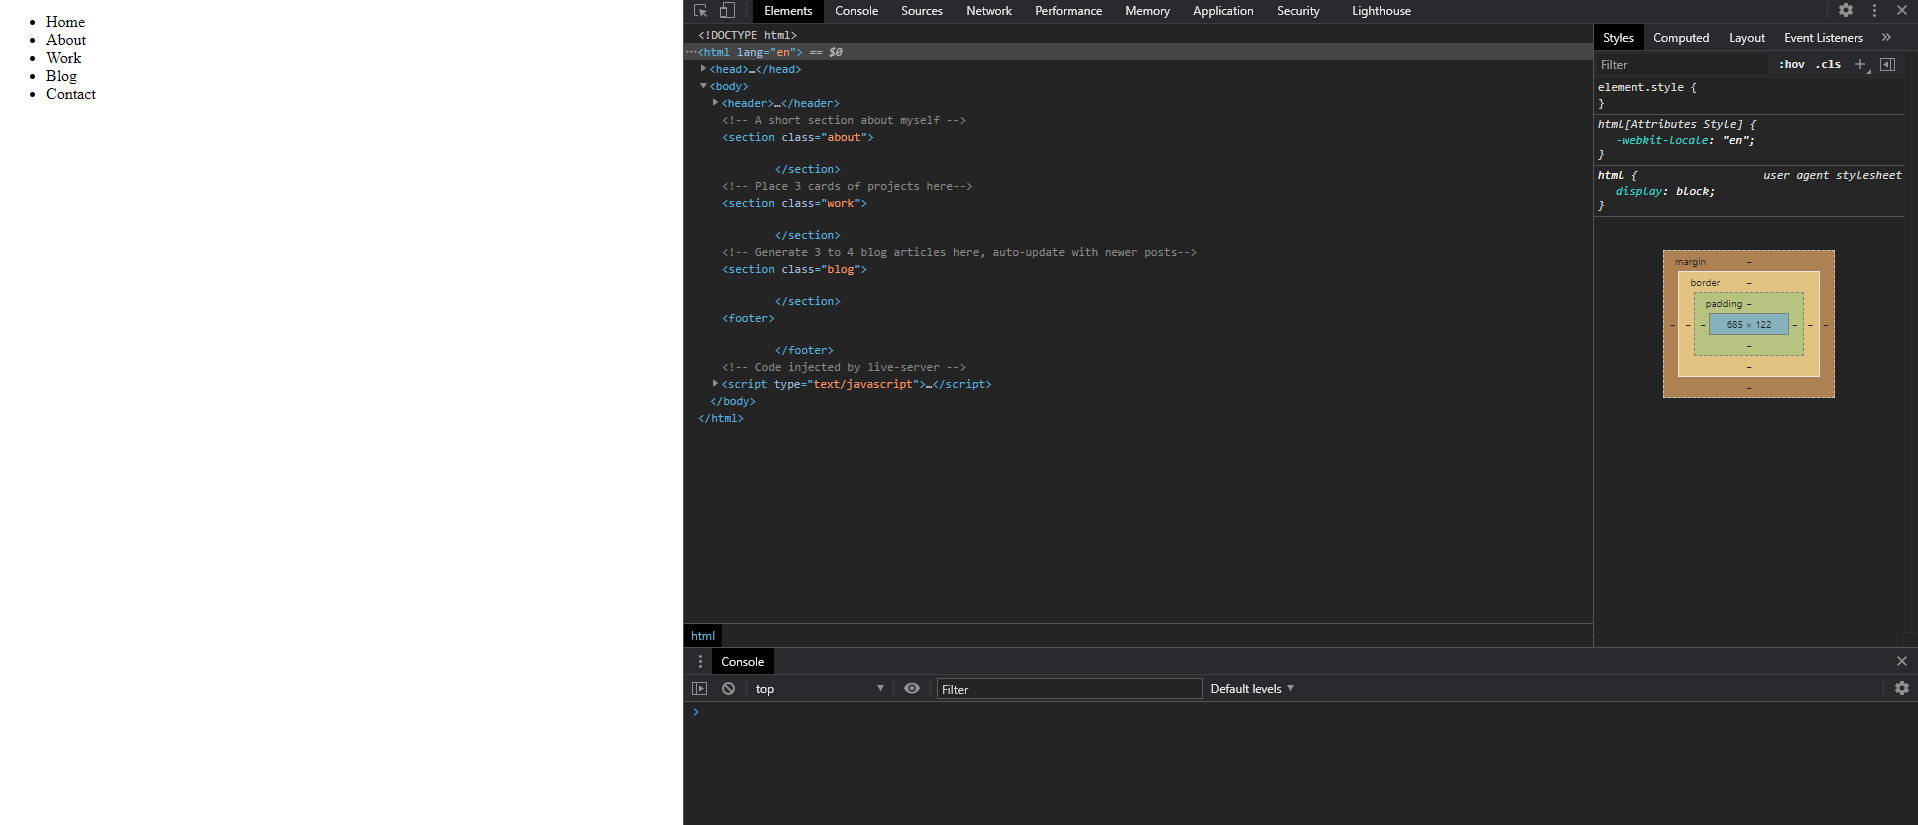
Our Nav Bar items show up as an un-ordered list, as we specified, and in the console we can see our comments for each section. It's not much right now, but as we build on it and content gets added in, we'll have a full page in no time!
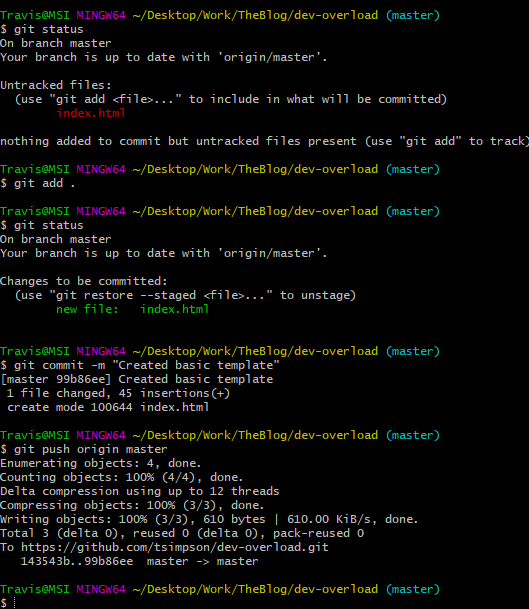
Now is a good time to save our work, check the status, add it to a commit, create the commit and push it up to our repository.
To briefly cover what we've done today:
Created a repository on GitHub
Initialized repository on local machine
Made our first commit with a README
Created our index.html file and added some HTML template
Made our SECOND commit!

We'll continue working in this project over the next few posts as we build our site. You can always check updates here and feel free to test out GitHub's new Discussions section here.
That's all for today!